
I had always liked the thought of a rackmount gaming PC. Ialready had a rackmountable network switch and an HPE ProLiant MicroServer Gen8 which I use as a NAS. The idea of having all my equipment in one unit which was solid and had a decent aesthetic to it appealed a lot to me.
Don’t get me wrong, I have had my fair share of flashy RGB standard computer cases and liked the look of those too, but I always got caught up in the latest cases and constantly tweaking for a better aesthetic and sound isolation.
I started by contacting many UK based server case sellers with my gaming PC specifications and dimensions I desired. Many did not get back to me, or simple recommended against my idea. Obviously that didn’t put me off trying anyway.
Eventually after finding Server Case UK and a bit of back and forth emailing, I was recommended this case. I was assured all of my components would fit, including an all in one water cooling solution from Corsair. Without even looking for a server rack, I ordered the case and waited.
My Computer Components
Computer Case – Be Quiet! Silent Base 800 Black
Motherboard – Asus ROG Z170 Maximus VIII Hero Skylake ATX
Processor – Intel Core I7-6700K Processor 4.5Ghz
CPU Cooling – Corsair Hydro Series H110i GT
Memory – HyperX FURY Black Series 32 GB (4 x 8 GB) 2400 MHz DDR4
Graphics Card – NVIDIA Geforce GTX 1080 Founders Edition
Power Supply – Corsair CP-9020062-UK RM Series RM1000 80 Plus Gold 1000W ATX/EPS Fully Modular
Storage – Samsung 850 EVO 500 GB SSD | Seagate 1TB 7200

Receiving The Case
The case arrived and I was very happy with the size of it. I did a basic layout on top of the lid to ensure everything would fit fine with enough clearance. It didn’t fit fine. The case came with a bunch of 80mm fans which would block where I wanted the radiator for the liquid cooling to go. I stripped out everything I wouldn’t need, including the front 120mm fans.

Despite these images showing my building this computer on the carpet (which I know is dumb), I was using an anti-static wrist band for all it’s worth. I have tested and used the 80mm fans since this build, and if you decide to go down this route, as I am sure you know, server fans are very loud. The case is a 4U case, meaning it takes up 4 units in a server rack. Each unit is 1.75 inches so I had plenty of room for more 120mm fans to provide airflow.
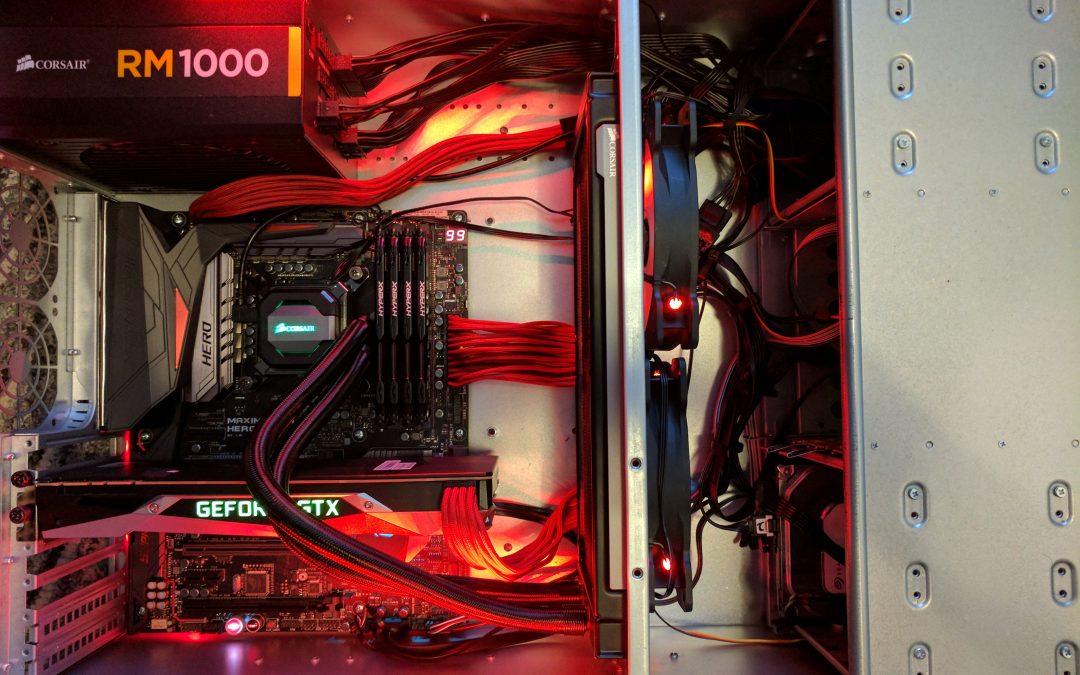
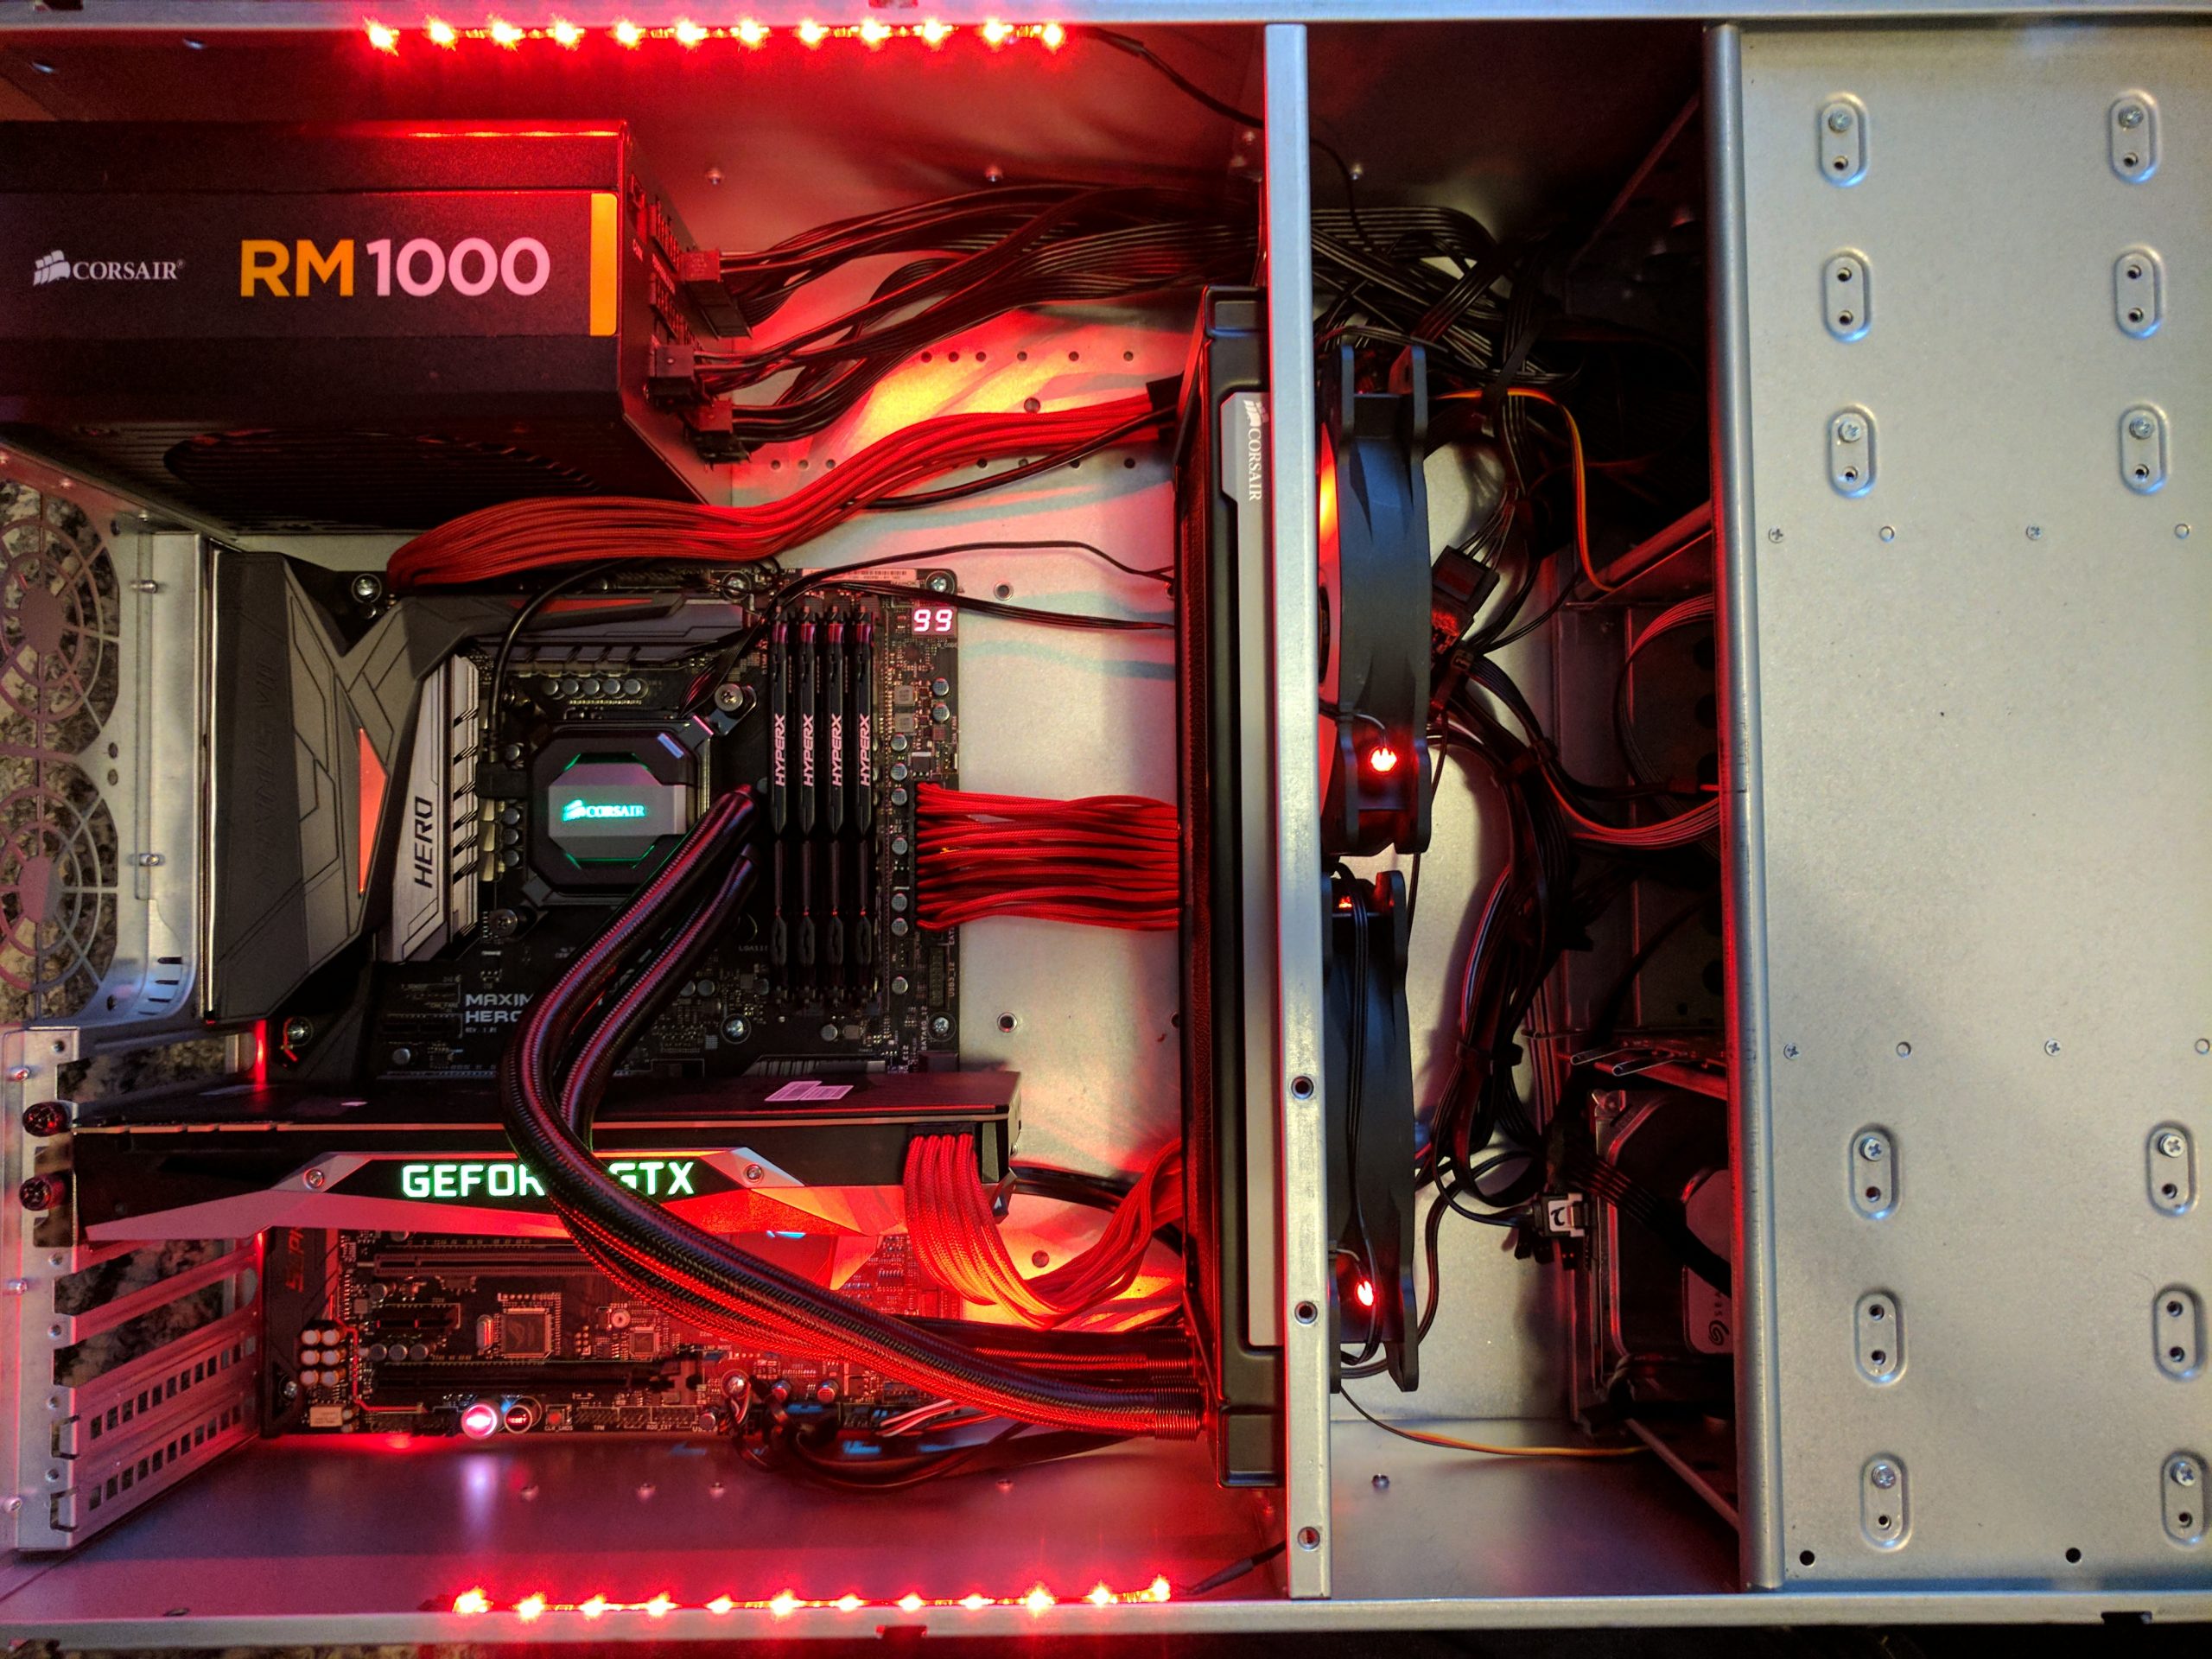
Fitting The Components
I started a full test fit inside the case, and it all fit very nicely inside without any further modding to the case needed. I wasn’t sure if the company that sold this to me were just looking to sell a case without actually taking my requirements into consideration. It turns out, they knew what they were talking about, and I got what I needed for a rackmount gaming PC.

I know this solution isn’t for everyone, and I have since had a few skeptical friends ask if I regret going down this route for my gaming PC. I have been using this setup for nearly 3 years since this post, and I haven’t had an issue. It seems like more of a conversation starter to new viewers than my old typically fancy gaming setups. I have had many quiet cases including Fractal Designs R series and a couple of BeQuiet! cases. This server case is definitely the best when it comes to dust. I hadn’t opened the chassis up for around 18 months when I needed to replace the motherboard after a failure, and apart from a bit around the motherboard IO, there wasn’t any dust in the case.
I have all of these “gaming” components with lights and neat designs which I can no longer see, apart from some red glow around the rail holes, but that doesn’t bother me. My temperatures have been great, not much better than any of my previous cases, but certainly not worse.

Actually Rackmounting The Case
It’s not a rackmount gaming PC without the rack. I had this setup for around 3 weeks without any ideas or research for an actual rack to fit this beauty in to. I am a student a student and cannot really afford to go spending hundreds on a server rack. I wanted this to be in my room, so looking for old business stock was out of the question. Business racks tend to be much taller than I would want. We’re talking 42U or 78.74 inches (nearly 2 metres) tall.So what did I do? Well first I looked for really cheap solutions, and came across a cheap Ikea table which was perfect server width. Many people have built their racks using this solution and are happy with it. I went on a trip to Ikea, found the only version of this table they had which was pink, which is fine.

The Review – Rackmount Gaming PC
So there it was, my creation sat in an upside down table without any further plans. It took a week for me to admit this isn’t the solution I wanted. So I ended up having to fork over nearly £200 for a rack that would fit my needs. This is the one I went with. It’s a StarTech rack which I still use to this day and don’t regret it at all. At the time, it was pretty much all the spare money I had, but this thing is built incredibly well. It’s on casters which makes it easy to roll around, which you’ll probably want because you definitely will not be lifting this thing very far due to the weight.
So there it is. My journey to building a rackmount gaming PC. It’s not the prettiest, but it’s functional, upgradable and exactly what I wanted. If you decide to do this yourself, or if you have anything similar, I would love to hear about it and see some pictures.
YouTube Video Of The Rackmount Gaming PC
I also did a small video on the process of this build. If you’re interested in seeing how I put this build together in video form, then check the video out below.


Everything I Used To Create The Rackmount Gaming PC
(UK Non-Affiliate Links)
- Case – 4U Standard Chassis
- Rack – StarTech.com 12U Open Frame Server Rack
-
Motherboard – Asus ROG Z170 Maximus VIII Hero Skylake ATX
-
Processor – Intel Core I7-6700K Processor 4.5Ghz
-
CPU Cooling – Corsair Hydro Series H110i GT
-
Memory – HyperX FURY Black Series 32 GB (4 x 8 GB) 2400 MHz DDR4
-
Graphics Card – NVIDIA Geforce GTX 1080 Founders Edition
-
Power Supply – Corsair CP-9020062-UK RM Series RM1000 80 Plus Gold 1000W ATX/EPS Fully Modular
-
Storage – Samsung 850 EVO 500 GB SSD | Seagate 1TB 7200 | 2TB WD Passport | 2TB USB C External Orange Rugged Drive

Recent Comments